今回は
- Gitのインストール
- GUIクライアントのTortoiseGitのインストール
- 日本語化
の手順をご紹介します!
Gitはインストール時にたくさん項目があって難しいですよね。。。
スクリーンショット付きで解説をしていくので、ぜひご参考にしてください😊
Gitのインストール
今回はwindows版をインストールしていきます。
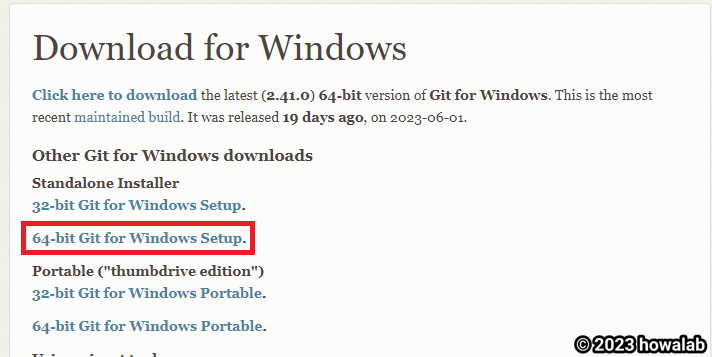
ダウンロード
ダウンロードページがOSごとに分かれているので、windowsのダウンロードページを張っておきます。
私はwin11 proで64bitなので、64bit版をダウンロードしました。
インストール
ダウンロードしてきたexeファイルを実行します。
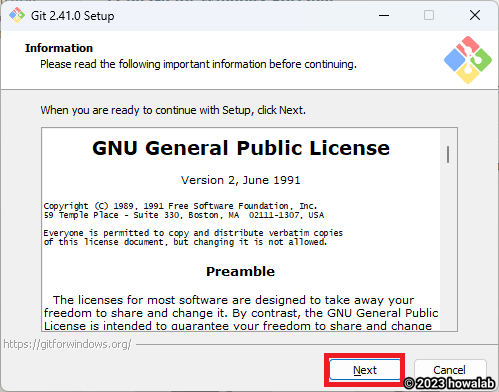
「Next」を押下します。
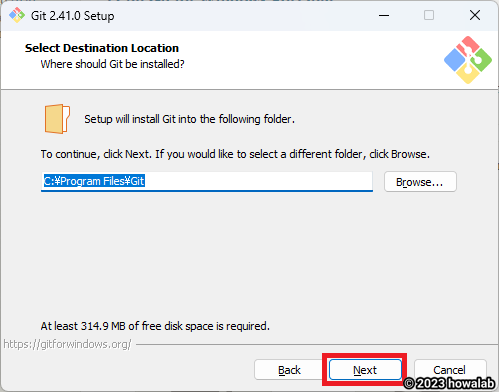
インストール先を選択します。
特にこだわりがなければ「Next」を押下します。
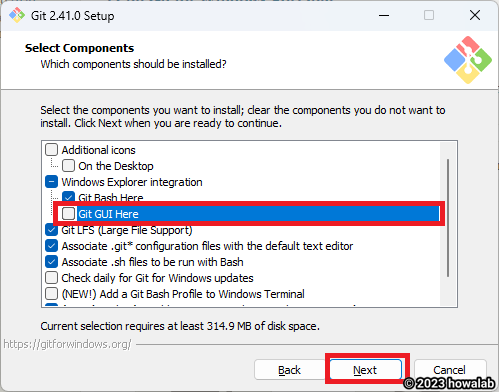
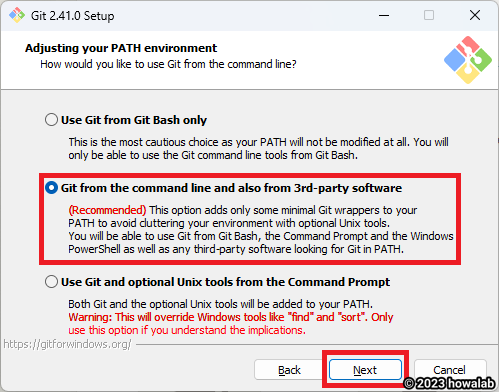
今回はGUIクライアントにTortoiseGitを使用するので、「Git GUI Here」のチェックだけ外します。
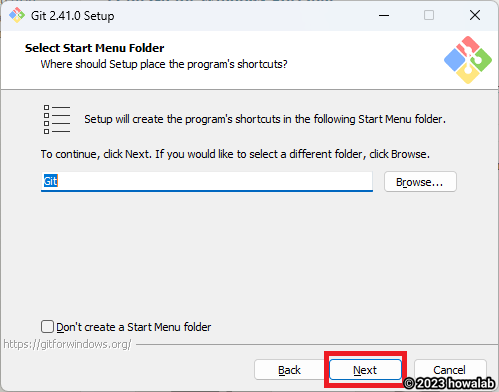
スタートメニューへはGitで登録するのでそのまま「Next」を押下します。
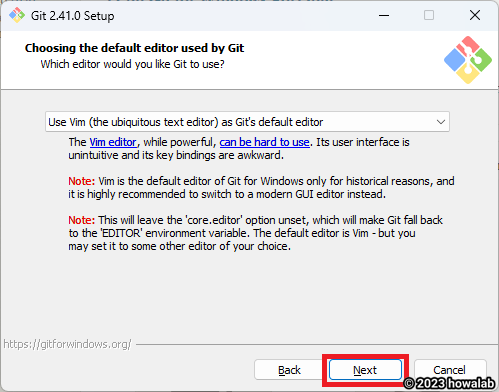
Gitで使うエディタを選択します。
今回はGUIクライアントを使うので、デフォルトを選択しました。
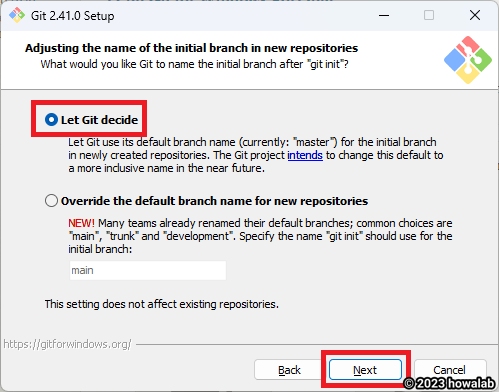
ここではデフォルトのブランチ名を設定できます。
特に希望がなければデフォルトのままで大丈夫です。
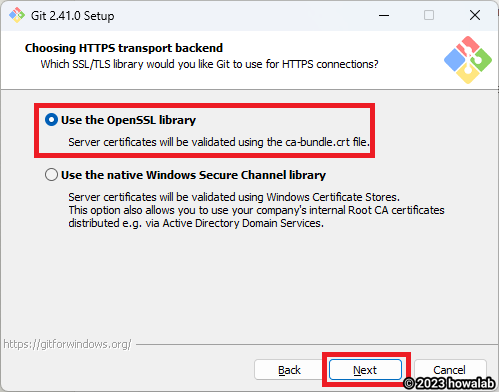
これは真ん中を選択するのが無難です。
Gitの推奨設定でもあります。
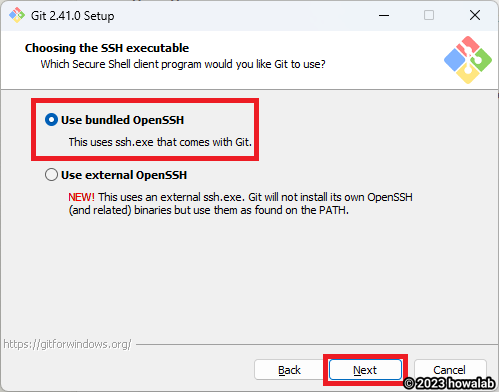
Gitで使用するSSHの設定をします。
デフォルトで問題ありません。
こちらもデフォルトで大丈夫です。
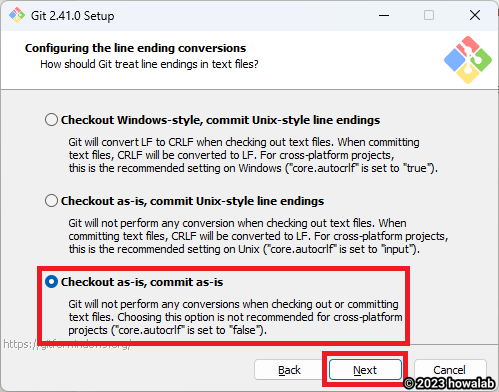
Gitがテキストファイルを扱う際の改行コードを設定します。
自動変更はなしにしておくと間違いないです。
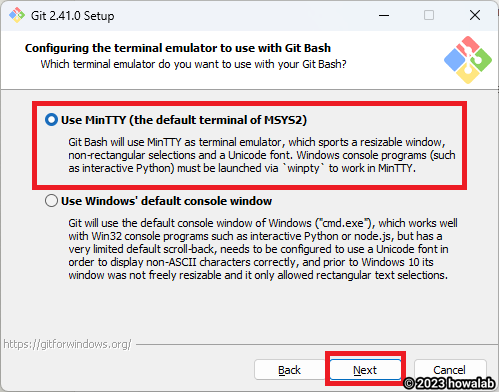
Git Bashで使うターミナル・エミュレータの設定です。
デフォルトで大丈夫です。
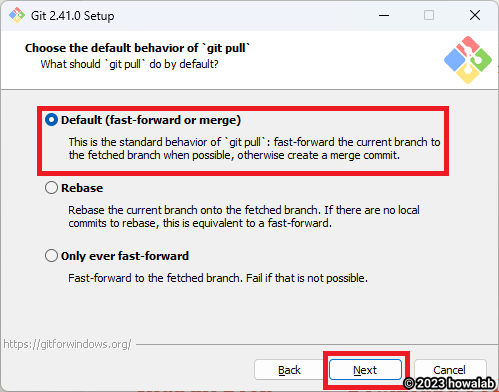
git pullの動作を設定します。
これもデフォルトで大丈夫です。
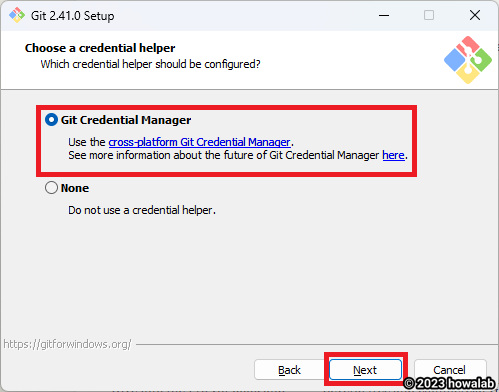
Git ヘルパーの設定です。
これもデフォルトで大丈夫です。
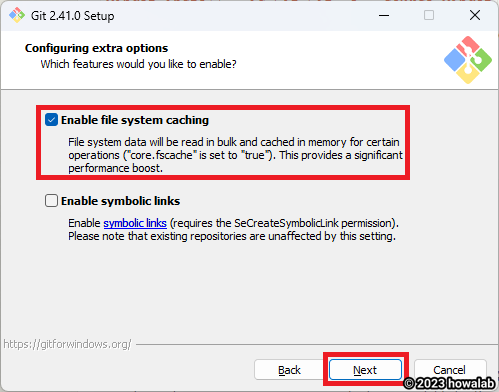
拡張オプションの設定をします。
これはデフォルトのままで問題ないです。
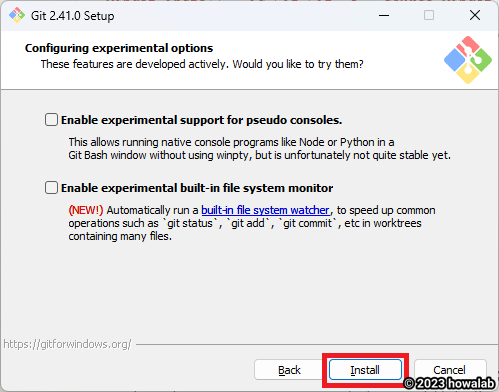
ここはチェックなしで「Install」します。
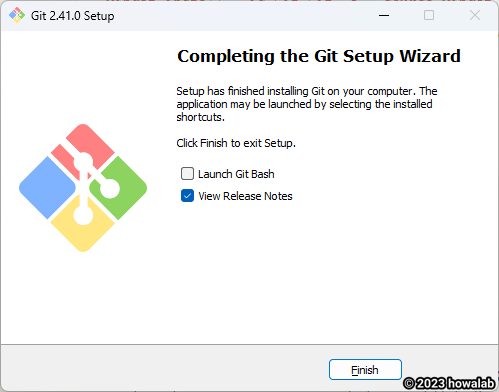
これにてGitのインストール完了です!
お疲れさまでした!😊😊
次のTortoiseGitはこんなに難しくないです!
TortoiseGitのインストール
TortoiseGit は Windows用のGit Guiクライアントです。
ダウンロードページはwindowsしかありません。
上のリンクから
- TortoiseGit
- 日本語パッケージ
の2つをダウンロードします。
日本語化パックはTortoiseGit本体をインストールした後で使います。
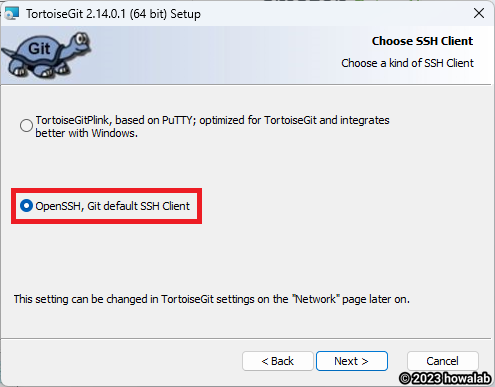
TortoiseGit本体のインストール
Gitインストール時にSSHをデフォルトに設定しているので、こちらも同じように設定します。
そのほかはデフォルトでインストールしました。
日本語化
先ほどダウンロードした日本語化パッケージをインストールします。

インストール後にチェックを入れるのを忘れないようにしてください。
これをチェックしないと、日本語に変更してくれません。
チェック入れた後に「完了」を押下します。
チェックを入れ忘れた際には、TortoiseGitの設定ページから日本語に変更します。
以上で完了です!
お疲れさまでした🙌
まとめ
Gitのインストールできましたでしょうか!
わからないことがあれば、twitterにいますので是非質問ください!